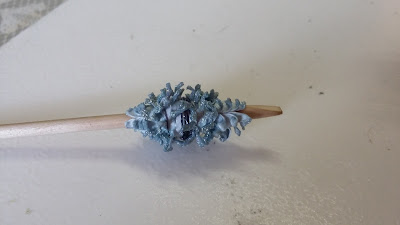
If you haven't used Tyvek at all before you need to work in a well ventilated room because you do get fumes from the heating process, and have a silicone sheet or tile handy to rest your heat gun on.
Denise had lots of ready coloured Tyvek available, and the top tip here is pre-cut your strips or long triangles the same size if you want your beads the same size. We liked the Tyvek coloured with Jacquard Luminere, although lots of different paints etc. colour Tyvek well and we wrapped the rolled strips with polyester thread, metallics give a nice finish.
 |
| Denise wrapping the first bead - the polyester thread acts as a resist |
 |
| My first attempt with a snipped strip |
 |
| A thinner strip to make a smaller bead - heating the flattish part first helps to seal the bead |
 |
| Double snipped strip |
 |
| After heating |
 |
| Using a triangular strip of very light weight uncoloured Tyvek |
 |
| The Tyvek was quite difficult to heat and tended to completely disappear in parts |
 |
| Tyvek covered with synthetic lightweight fabric |
 |
| Mmm - this didn't work, maybe too thick |
 |
| I tried bonding the fabric to the Tyvek but again not very successful |
No comments:
Post a Comment